Setup
Requirements
Section titled “Requirements”To use NimbusDB, you need to have the following:
Game Engine
Section titled “Game Engine”| Name | Version | Supported |
|---|---|---|
| GameMaker | 2.3+ | Yes |
GameMaker
Section titled “GameMaker”Here’s a list of the tested versions and platforms of GameMaker that are compatible with NimbusDB:
| Platform | IDE | Runtime | Notes |
|---|---|---|---|
| Windows VM | v2026.0.x.y | v2026.0.x.y | Any version of x and y, tested and working |
| Windows VM | v2024.14.x.y | v2024.14.x.y | Any version of x and y, tested and working |
| Windows YYC | v2026.0.x.y | v2026.0.x.y | Any version of x and y, tested and working |
| Windows YYC | v2024.14.x.y | v2024.14.x.y | Any version of x and y, tested and working |
It should work on any version and platform of GameMaker 2.3 or later, but the above versions and platforms are the ones that have been tested and confirmed to be working.
Installation
Section titled “Installation”There’s 2 way to install/update NimbusDB to your project:
Via GameMaker’s Local Package Manager
Section titled “Via GameMaker’s Local Package Manager”This is the recommended way to install NimbusDB, as it allows you to easily update to the latest version when a new release is available.
- Download the latest release of NimbusDB from the GitHub releases page.
- Extract the downloaded ZIP file and locate the
NimbusDB-v<VERSION>folder. - Open your GameMaker project and go to
Tools>Import Local Package. - Select the
NimbusDB-v<VERSION>.yympsfile from the extracted folder and clickOpen. - Select the
NimbusDBpackage from the list and clickAdd All.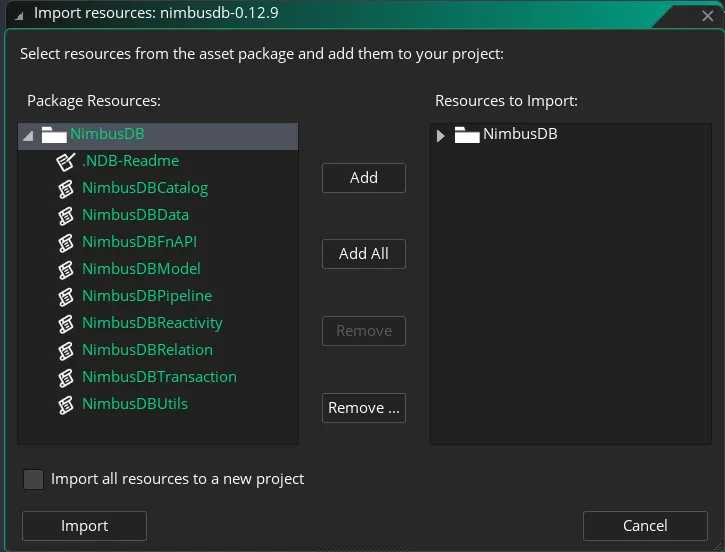
- Click
Importto import the package into your project.
Manual Copy
Section titled “Manual Copy”- Download the latest release of NimbusDB from the GitHub releases page.
- Extract the downloaded ZIP file and locate the
NimbusDB-v<VERSION>/Scriptsfolder. - Open your GameMaker project.
- Create your own script assets in your project and copy the code from the
Scriptsfolder of the extracted NimbusDB release into your own scripts. - Make sure to copy all the scripts and maintain the same script names as in the NimbusDB release.
Definition Files (Optional)
Section titled “Definition Files (Optional)”NimbusDB package comes with TypeScript definition files (.d.ts) that provide type information for the NimbusDB API. These files are useful for code editors that support TypeScript.
You can use these definition files in your secondary code editor to get better development experience when working with NimbusDB, even if GameMaker doesn’t support TypeScript. Here’s how you can set it up:
- Locate
NimbusDB-v<VERSION>/Definitionsfolder in the extracted NimbusDB release. - Open those files (or the entire folder) in your code editor (e.g., Visual Studio Code).
- You’re set! You can use the type information from the definition files to get type checking for NimbusDB in your code editor.
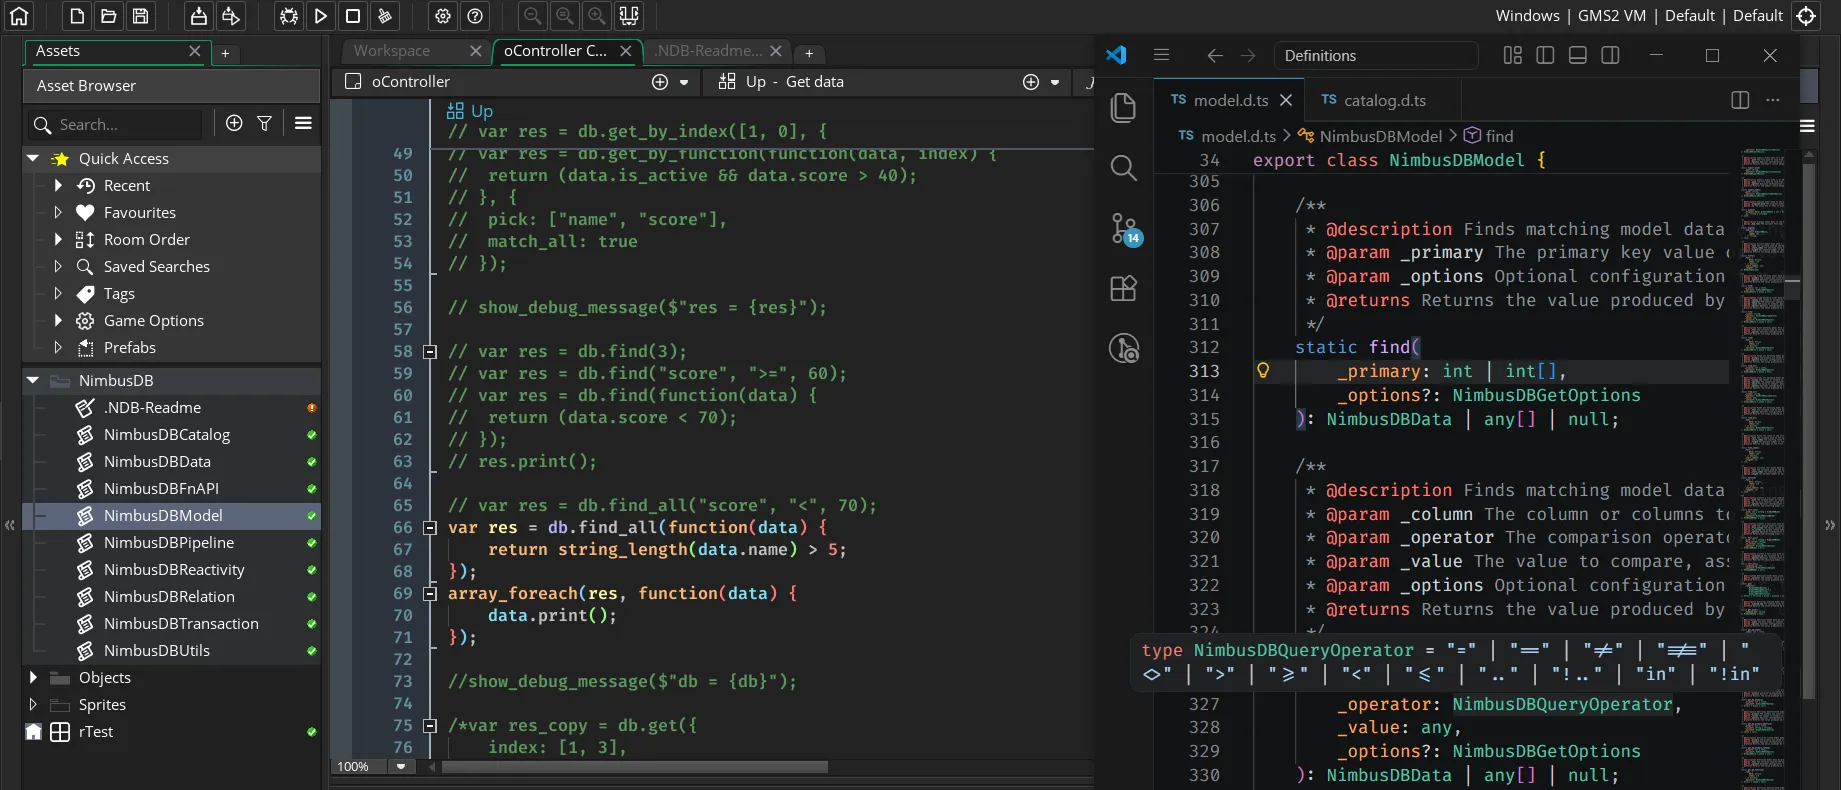
| JSDoc is included for each function/method | Breadcrumb to navigate to the function |
|---|---|
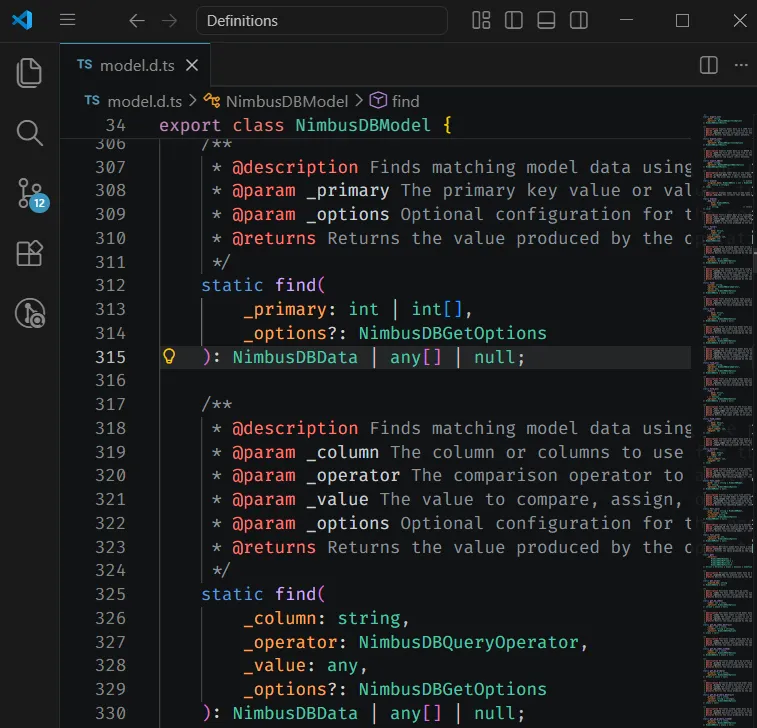 |  |